Propagating seeds is one of my favorite parts of gardening. Knowing that you've taken part in a plant thriving from start to finish just feels good. And it's always awesome watching a seedling break through the soil. I prefer to start seeds inside in a seeding cabinet that I made some time ago. There are several benefits. For one, I can start a lot of seedling in a small space. The cabinet has about 1' x 2 1/2' of floor space and is about 3' tall. It takes up very little room, yet I can start a tremendous amount of plants in it. A 98 cube slab of rockwool fits in the cabinet easily, and I can fit even more using my preferred method of seeding using coco coir (
http://trinityaquaponics.blogspot.com/2011/08/coco-coir-and-seeds.html). I like to call that method high density seeding. You can plant several seeds in one place and separate them carefully once they emerge and grow to an inch or two. You have to be very careful with the taproot when doing that, though.
 |
| Seeding Cabinet with light on (cabinet can be painted to block out light.) |
 |
| Seeding tray inside of cabinet. |
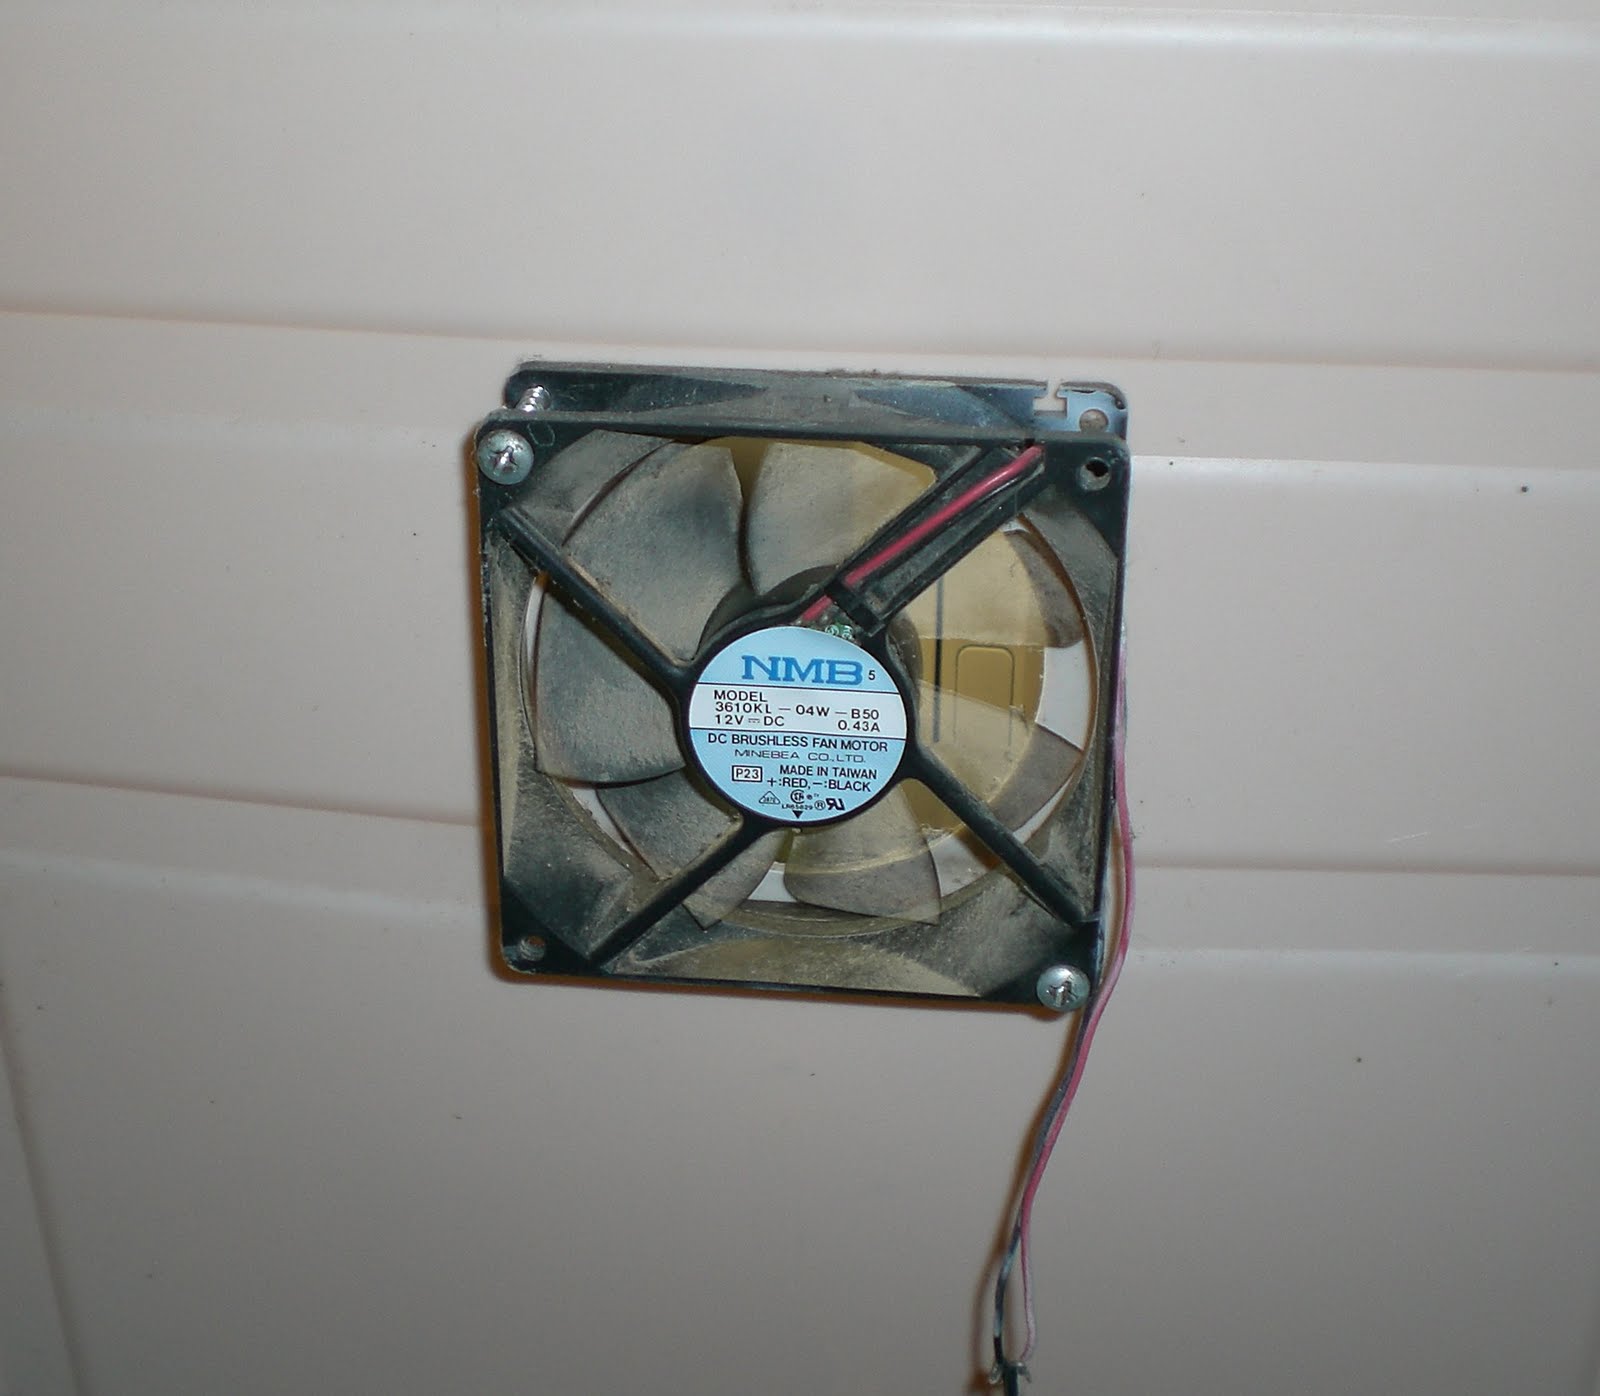
Building the cabinet was very easy and pretty inexpensive. I purchased a short sterilite garage cabinet to house everything. I attached four light bulb sockets to the top (horizontally to make the most use out of the lights) and wired them using a cheap extension cord. I won't go into details on that here, but a quick google search or even talking to an employee at a home improvement store will provide you all you need to know. In the bottom of the cabinet I used a hole saw to drill a passive intake hole for air current. I also drilled a couple of holes in the shelf that whatever I'm seeding in sits on to increase airflow from the intake to outtake. Another hole further up on the cabinet created an outtake. To ensure airflow I used a reused PC fan and a/c phone charger. The PC fan is wired to the phone charger, which can be plugged into any power outlet. You simply snip the phone connection off the end of the charger, strip the two wires, and splice them with the two wires from the PC fan. You may have to switch the wires once to get the right wires spliced together. Be very careful when doing this, electricity is no joke. You can hurt yourself very badly if you aren't careful, and I'd suggest searching on google for a more in depth description of how to do this. The only other thing to do was to get a pack of cfl bulbs and a surge protector to plug the lights and fan into. I like compact fluorescent lights because they put out a lot of light relative to heat. With four 12-20 watt cfl bulbs the PC fan will keep the cabinet at just above room temperature.
 |
| Lights attached to the top of the cabinet. The hole in the middle is where the PC fan is. |
 |
| PC fan attached to the back of the cabinet. |
 |
| Surge protector with lights an fan plugged in. |
Plug the surge protector to a wall outlet and you're ready to go. You can now seed whichever way you prefer so long as it fits in the cabinet. I highly recommend trying out the coco coir method, but there are many options and it's pretty much all about preference.


No comments:
Post a Comment